
57: Safest Approach to Install Addons

I normally pay extra attention when adding addons to my system because the performance of FSX sometimes is so allergic to tinny tiny stuff added to it.

No matter the addon is a scenery or an airplane, we mostly don’t have sufficient prior informantion about what will be added to, and in particular what will be overwritten from the system.

To  minimize the risk of uncertainty, I normally take the dummyproof approach described below to “quarantine” the content of the new addon in the first place.

The logic behind is: Continue reading
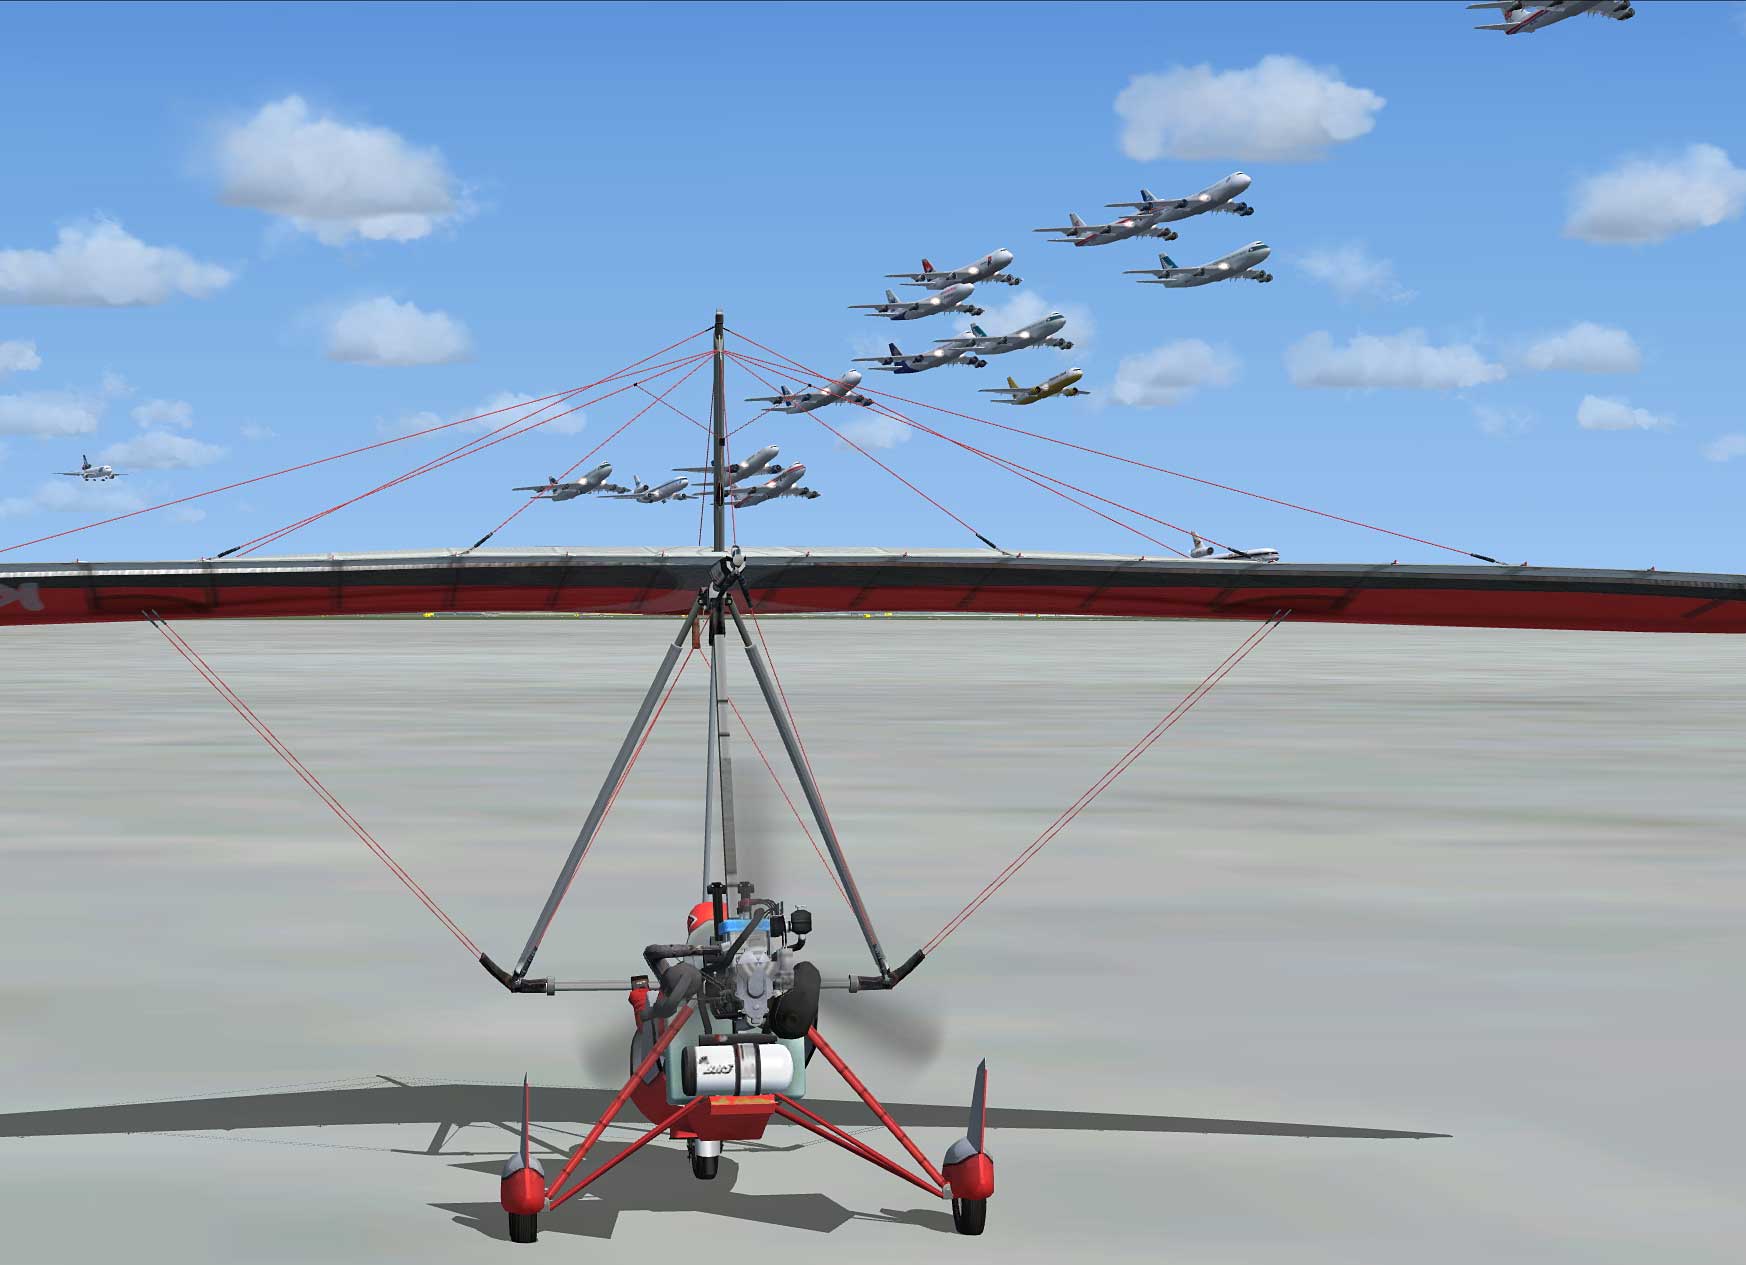
56: Remove Standard AI Traffic

My system has Just Flight’s Traffic X and a few other AI traffic addons installed.   They together brought a lot of AI aircrafts and traffics, which makes the default ones redundant.

Naughty Fleet of Airplanes

To reduce overlapping and enhance system performance, the TrafficAircraft.bgl under X:\Microsoft Flight Simulator X\Scenery\World\Scenery was moved to a backup folder so that no standard AI traffic is loaded.

To restore, just putting back the file to the original folder will do.

55: Redefine Virtual Cockpit Zoom Level

I mostly fly with Cessna and I want the virtual cockpit to initiate with a zoom level of 0.6 when a session starts.  There are two options to achieve that:

OPTION 1:  Save a New Default Flight

1) Start a flight with Cessna

2) Adjust the zoom level to 0.6 inside the virtual cockpit with “=” or “-” keys

3)  Save the flight as the new default flight

OPTION 2:  Modify the Default Startup Flight

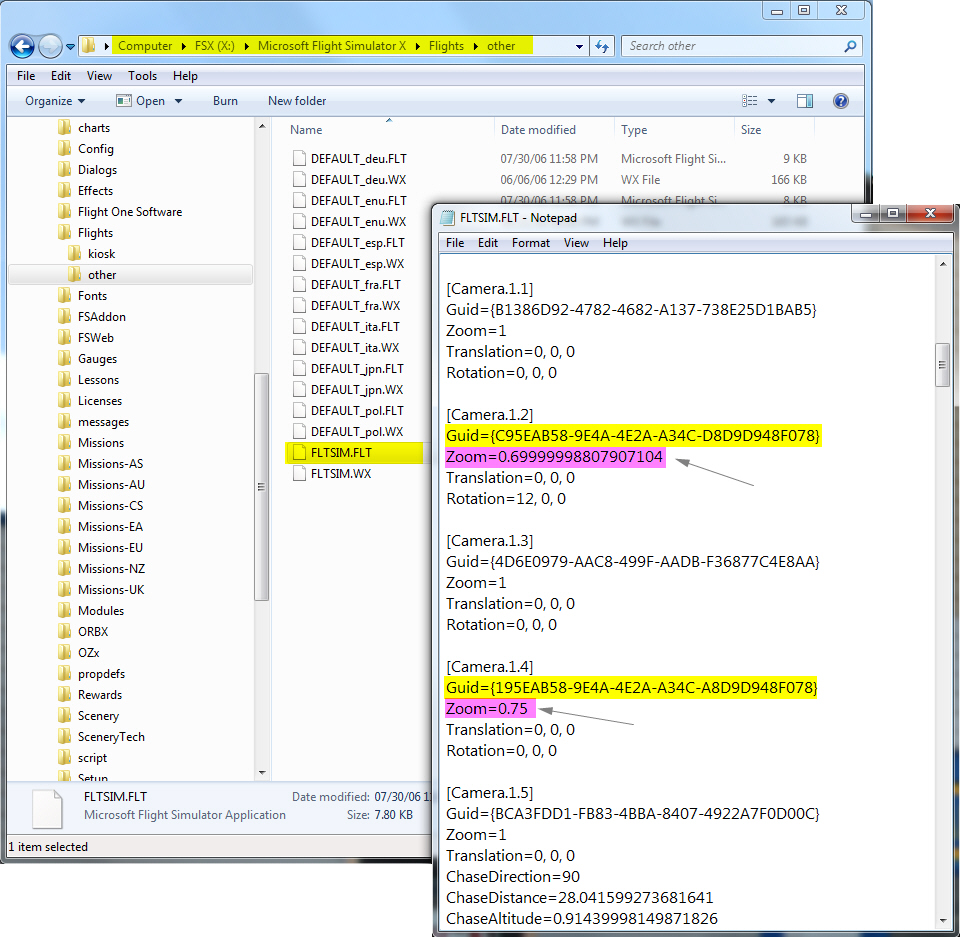
1) Open the default flight “FLTSIM.FLT” (or the earlier saved default flight) with Notepad

2) Look for Cameras with Guid = {C95EAB58-9E4A-4E2A-A34C-D8D9D948F078}

Note: This Guid number is assigned to Virtual Cockpit in FSX

3) Change the Zoom value to 0.6

Both Option 1 and Option 2 can easily set the zoom level of virtual cockpit to one needs.  However, the zoom level is likely to be changed when the aircraft (Cessna in this case) is swapped. Continue reading

53: Configuration Fits for ALL #6 – The Missing Part

Once FSX is divided into flying zones, Missions can be categorized and automatically loaded as well.  There are two options available:

Option 1:

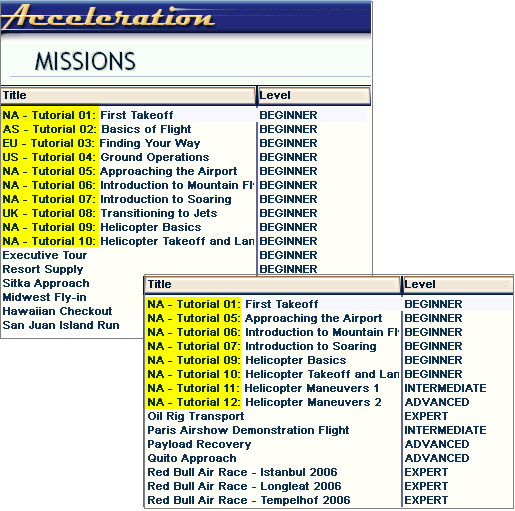
Add a prefix to all missions using the method of Renaming Missions posted earlier, so as to differentiate which flying zones where missions are belonging to.

For example, add the prefix of “EU-” to all missions taken place in Europe, “AS-” for Asia, “CS-” for Central and South America, etc.

Option 2: Continue reading

49: Rename Missions

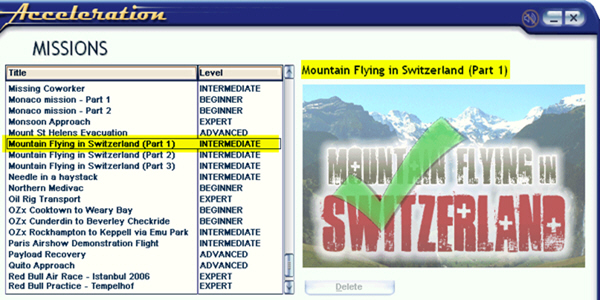
In addition to prioritizing missions as described in last post, names of missions can also be changed easily.  For example, the three Mountain Flying in Switzerland missions from vertical studios were originally shown in small captial letters. Through following steps explained below, they are now capitalized.

Continue reading

48: Prioritize Missions

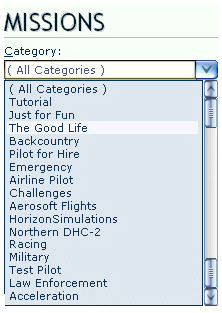
Mission Categories are seldom displayed in proper order, especially after new Missions have been added.

Here’s how to prioritize Mission Categories as one desires.

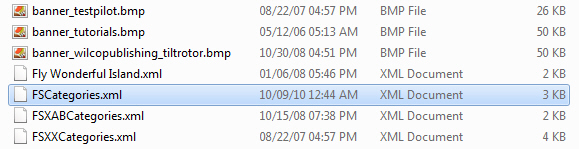
Inside the Categories folder of FSX system, there should be XML files similar to what is shown below.

Each of these XML files contains one or more Mission Categories that were created by FSX or when addons were installed. The alphabetical order of these files also determines how Mission Categories will ultimately displayed in FSX.

Folder Location: X:\Microsoft Flight Simulator X\Categories

Continue reading

46: Alternative to fsx.CFG

Even using the Flying Zone Approach described in previous posts to configure the FSX system, it still provides general-purpose optimum settings only.

While flying around specific airports or areas, one may further need to fine-tune values of Target Frame Rate, Terrain and Water, Autogen Density, Traffic, etc.

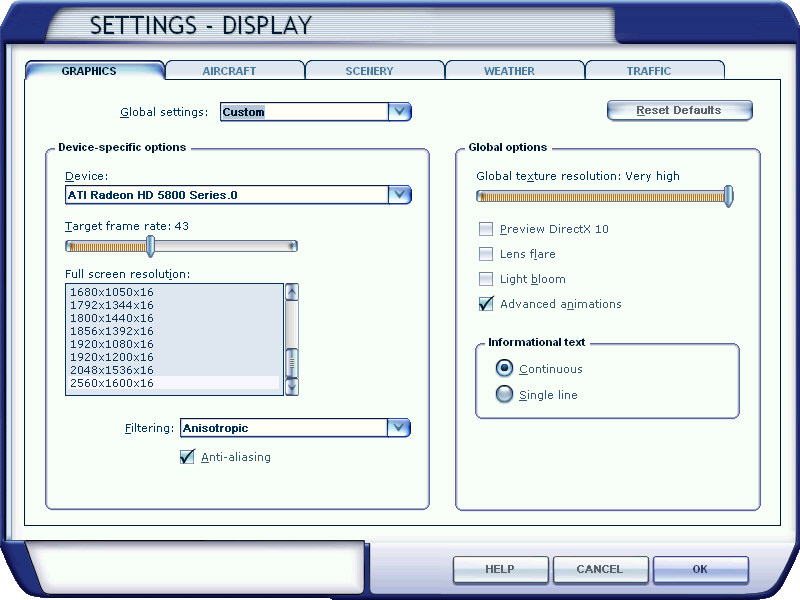
Although this could be achieved via SETTINGS option in FSX, the SETTINGS option will simultaneoulsy revert TEXTURE_MAX_LOAD, TEXTURE_BANDWIDTH_MULT and LOD_RADIUS back to their default values of 1024, 40 and 4.5 respectively.

There seems to be no apparent option available but to quit FSX and change them back to your desire value via fsx.CFG.   However, this is silly since the fine-tuning objective is to make changes during a flightsim session.

The solution is as follows: Continue reading

45: Configuration Fits for ALL #5 – Back to BASIC

With all the files prepared from previous steps, here’s the BASIC programming part to load corresponding files automatically when a flying zone is selected.

C:\Users\Tom\AppData\Roaming\Microsoft\FSX

Continue reading

44: Configuration Fits for ALL #4 – fsx.CFG

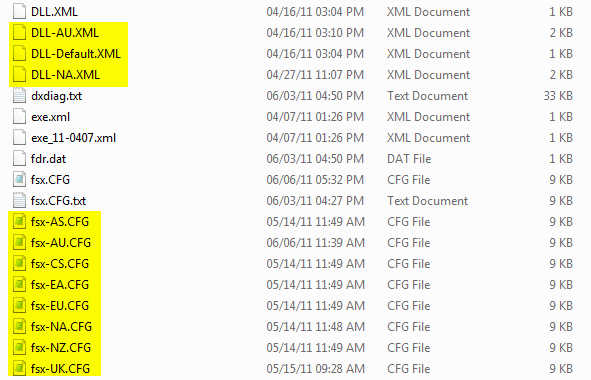
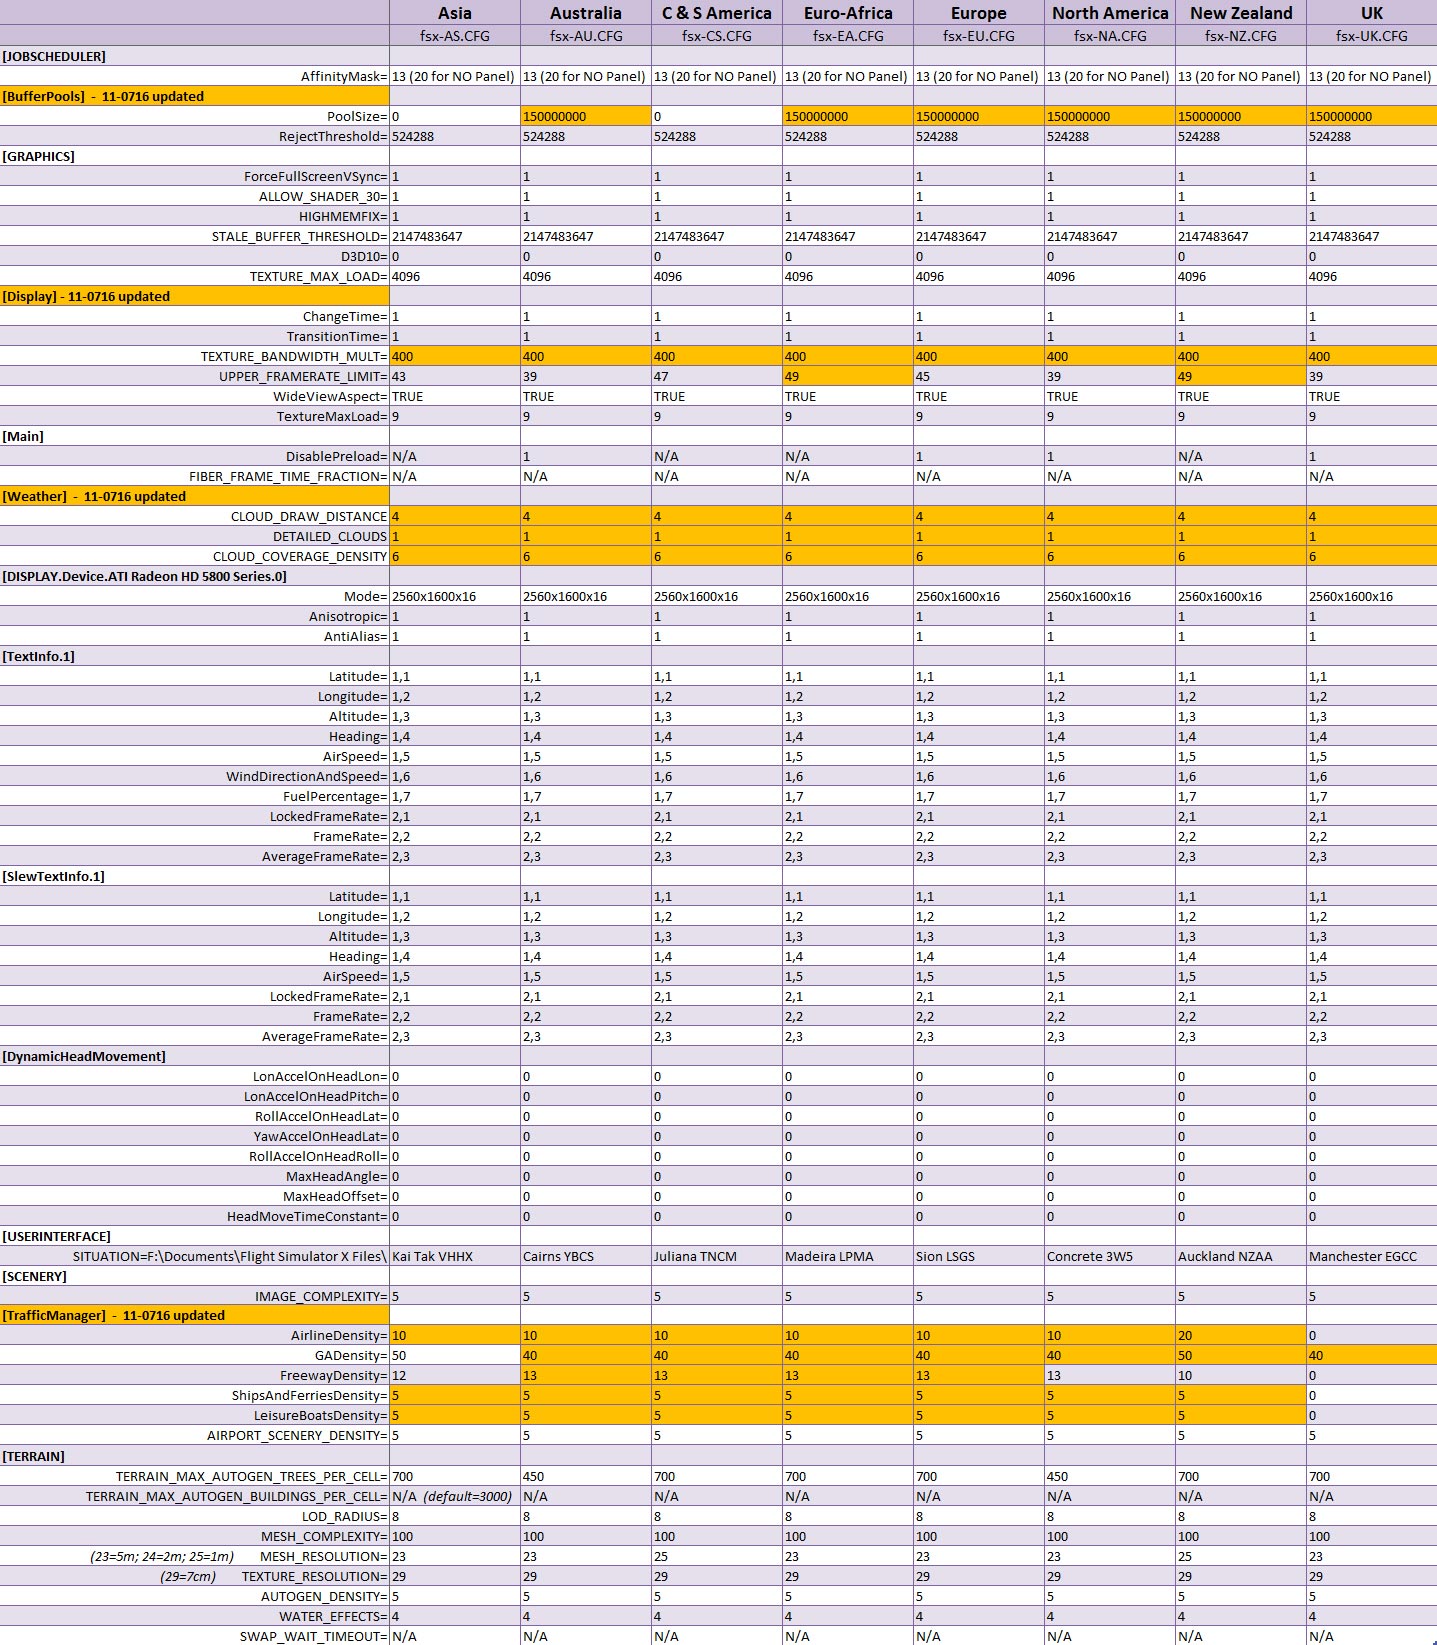
The concept of this approach is to divide FSX into a number of flying zones so as to minimize the impact from too many addons installed onto the system.  Therefore, a number of corresponding fsx.CFG are created.  This not only allows customzing fsx.CFG for each flying zone but also makes subtle fine-tuning possible according to actual performance resulted from each scenery.

So, instead of having only ONE My Best FSX Setup, I am actually having EIGHT as shown in the table below.   The matching fsx.CFG will be loaded via the BASIC command when a zone is selected.

fsx.CFG for different flying zones

Next post regarding the BASIC program will be the last of the series.